Wednesday, April 29, 2015

Creamy Mushroom Polenta with Scallops

For this dinner I made a creamy, cheesy mushroom polenta topped with scallops and a garlic avocado puree.

Creamy Mushroom Polenta
1/2 cup yellow grits (not instant)
3 cups water
2 cups roughly chopped shiitake mushrooms
2 tbsp heavy cream
1/2 cup ricotta cheese
Salt & pepper to taste

Cook the shiitake mushrooms in a hot pan with a little bit of olive oil until they release and re-absorb their water.  While the mushrooms are

cooking, put the grits and water in a saute pot and bring to a boil before turning the heat to low and covering.  Whisk the polenta every 5-10 minutes to ensure it doesn't stick or burn.  Once the polenta has begun to thicken, add the mushrooms and the salt and pepper.  When the polenta has finished cooking, remove from heat, stir in the cream and cheese and serve!


I cooked the scallops in a very hot pan with butter in order to get a nice crusty and caramelized finish on the scallops which still allowing them to be cooked correctly.  I served them over the polenta and topped with an avocado puree.  Try it and enjoy!

Monday, April 27, 2015

Slow-Roasted, Twice-Fried, Porterhouse

The cover of Bon Appetit this month had a crazy picture, and recipe, of a Slow-Roasted, Twice-Fried, Porterhouse ... of course I had to try making it!


The first step of this recipe involves scoring the steak and using a dry seasoning rub before chilling the steak overnight, uncovered, in the fridge.


The next step involved freezing the steak for at least six hours until it was frozen solid.  This was important for two reasons: a. it allowed the steak to be fried without over cooking and b. the ice crystals helped to texturize the steak.

The actual cooking process involved a first fry, 3 minutes per side, followed by a slow roast for about 1.5-2 hours in a very low oven and then a second fry for 2 minutes per side.


After the second fry you let the steak rest for a few minutes and then sliced along the bone on both sides and the cut the two steaks into slices. I reassembled the sliced pieces on a plate and then served.


The steak was a perfect medium rare in the center, despite being both fried and roasted. The outside of the steak was charred, crispy and perfect! I'll definitely try cooking another steak like this in the future and you should too!

Sunday, April 26, 2015

Pizza night!


To my mind there is nothing better than bubby hot pizza fresh from the oven.  For this pizza I used another ball of the dough that Shells profiled in a previous post (link).  I pre-heated the oven to 500F with the pizza stone in the middle rack.  I stretched out the dough and then topped it with prosciutto and slices of fresh mozzarella.  Before using the peel to put it into the oven and cooking it to crispy, bubbly, perfection.

Thursday, April 23, 2015

Seafood, mostly, dinner!

After three weeks in a row on the road, eating steak, I was craving some seafood.  Now, for me, craving seafood does not always equal healthy ... but I think I did pretty well with both for this meal.

For the first course I did melted cheddar toast points topped with a pan fried clam.

 For the second course I grilled up a bunch of shrimp and calamari tubes with asparagus.  Little salt, pepper and lemon juice is all you need here.


For the next course I lightly poached some oysters in a butter wine sauce.  This is a very simple way off cooking oysters where they still maintain that almost raw consistency, but you don't have to worry about that whole "raw" thing. 

 Shishito peppers, pan fried, tossed with sweet chili sauce and sriracha.  A little messy to eat, but most tasty food is!

Remember when I said this dinner was seafood?  Well, pork belly is basically a seafood, right?  RIGHT?  Even if it's not, I grilled up a couple pieces of pork belly and served them with taco shop guac! 

 Scallops wrapped in bacon?  Nope!  Scallops wrapped in pork belly?  You say it's the same thing, I say potato.  Either way, who cares?  They were grilled and awesome!

For the last course, I stuffed some morel mushrooms with a shrimp, scallop, avocado and red bell pepper.  I then grilled the mushrooms until cooked through and then served them with a bit of the mushroom broth that I had warmed up.
Overall this was not a complex dinner, but man was it tasty.  Give it a try and see for yourself, enjoy!

Tuesday, April 21, 2015

Mushroom gravy is an underrated thing!

For those of you who have read this blog for a while, you know what can happen when I go to Whole Foods with no direction or pre-existing inspiration.  It should be no surprise then that I went out the other day and came home with some amazing looking veal loin chops.  The loin chop is a cut very similar to a porterhouse with a ny-strip style cut on one side and a tenderloin on the other.


I had a bunch of reconstituted morel mushrooms left over from dinner the night before that I wanted to use so I decided to make a "gravy" to go with the chops.  The gravy was very simple but had an awesome earthy flavor.

Mushroom veal "gravy"
2 cups veal stock
6 medium morel mushrooms (reconstituted)
1 tbsp soaking water
salt & pepper to taste

To reconstitute the mushrooms, put them in a bowl with 1/2 cup warm water.  I like to put a small, light, plate on top of the mushrooms to keep them submerged.  If the mushrooms aren't completely submerged, you may want to rotate them after a few minutes to make sure the dry parts are submerged.  If all of the water is absorbed, add additional warm water by the tablespoon.  Once mushrooms are fully reconstituted (~30 minutes) remove them from the soaking liquid (remember to reserve at least 1 tbsp), drain and set the mushrooms on a cutting board.

I brought the veal stock to a simmer in a saucepan over medium heat.  Chop the mushrooms (I cut into rings, but any chop will do) and add to the veal stock with the tbsp of soaking water.  Allow the mixture to simmer for about 15 minutes and then transfer to a vitamix (or other blender) and puree well.  Return to the pot and keep warm on the lowest setting until ready to serve.


I served the grilled chops with the mushroom "gravy," a grilled artichoke half and a dollop of my special garlic "avotaters."  Heat up your grill, give it a try and enjoy!

Friday, April 17, 2015

What an impact lighting can have on pictures!

Photos tend to be a big part of a good food blog.  Who would want to try making food that looked horrible in pictures?  Tom and I got a SLR camera a number of years ago which I still haven't learned how to use properly.  When we decided to do this blog I have done my best to have decent lightening but I have very much depended on Photoshop to correct the pictures.  See an example below.  The top picture is unedited and the bottom picture is after corrections/edits in Photoshop.  You can see the red hues and the blandness of the picture.  When you edit in photoshop you can brighten and enhance the colors.  As you can see I was able to edit to get the plate back to its normal color! 

Before 
After edits
I have very basic knowledge of photography but know that lighting is key for good pictures.  So I thought I would do some research on artifical lighting.  Most of what i found were small spot lights that you would be outside of a tent.  That wouldn't really work well for food pics if I ever wanted to have more than a white background.  I found a website that talked about a food blogger using a free standing light.  I found it on amazon and it was ~$150.  I thought that was a little pricey.  So I googled DIY light boxes and was able to find sites that walked you through how to make your own light.

DIY Soft lights  

See below for my final products!  I made two "light boxes".  My lampshades were not the same type from the directions as I was not able to remove the metal frame.  However, I was able to work around this and they still work great!


I'm challenging myself to use manual settings rather than just have the lights on and use auto settings on the camera.

When using artificial lightening the key is to turn off all lights and minimize any natual lighting.  I have found that clamping one box to the chandelier and leave one on table has produced decent lighting and angles.  I will continue to work on light set up as we continue this adventure.  The pictures below are examples of unedited pictures taken with the light boxes!  What an improvement from before!

I am looking forward to improving my food photography skills to showcase the great food Tom makes for us!


Wednesday, April 15, 2015

Sometimes a nice Chinese dinner is just the thing!

Despite the fact that we had just had Chinese food the night before, when I asked Shells what she wanted for dinner a couple of weekends ago she didn't hesitate to say "Dumplings!"  Never one to say no, I headed off to the store to figure out what to make.

I decided I wanted to have some fun with this dinner, so in addition to dumplings I pulled together the ingredients for shumai and some spring rolls.


For the shumai, I went with a very simple filling of scallops and shrimp.  When I prepare this I try to dice the shrimp a bit more finely and the scallops a little larger so that the shrimp cook a little faster.  You don't have to do this, but I find that it helps make the scallops a little less rubbery.

I tossed the ingredients together and then filled them into wonton wrappers, pinching them up into a package with an open top.  To cook them I used a bamboo steamer until the shrimp were pink.


For the next course I went a little different and made a fried spring roll.  At this point our dinner deviated a little bit from the traditional as well.


For the stuffing of these spring rolls I roasted a batch of short ribs and then combined the short rib meat with sliced carrots and shiitake mushrooms.  I had pre cooked the mushrooms, but not the carrots to ensure that they would provide a little crunch in the finished product.  To cook them I put about 1/4" oil in my wok, heated over medium high heat and then fried the spring rolls, turning three times to ensure each side was cooked evenly.  If you use more oil you can cook them quicker, but then you have more oil to dispose of!


The finished product was crispy and delicious, especially dipped in a mix of sweet chili and sriracha.


For the final course, it wasn't really a surprise what I was going to make.  Our dumplings are a tried and true crowd pleaser, so of course I wouldn't change a thing ... right?  RIGHT?


Wrong!  Rather than go with our traditional pork stuffed dumplings, I decided to change it up and go with a ground veal filling.  I still mixed it with the traditional bok choy and other ingredients, and I still cooked them with a combined steam and then fry preparation.  At the end of the day they looked, and tasted, just as good as always!

Monday, April 13, 2015

Leftover Taco Shop Guac? Here's something to do with it!


There are very few "leftovers" that Shells will eat, but taco shop guac is one of them.  It can pretty much dress up any dinner and adds a tasty, and nutritious, compliment.

For this dinner I paired the tomatillo based sauce with broiled grouper and some of my black beans and rice.  The sauce paired well with the flaky fish and offset the starch of the beans and rice well.  Have any other fun uses for this sauce?  Let us know!

Tuesday, April 7, 2015

Mexican(ish) steak night

I wasn't really sure what to make for dinner one night two weeks ago but I had a batch of "taco shop guac" in the fridge so I figured I would work from that.  To go with the guac, I grabbed some rice, beans, avocado and a piece of skirt steak.  I don't know why, but I was really craving an egg too so I grabbed two of those and set up a poaching pan as well.


As you can see from the picture, this dinner was nothing too fancy ... just some grilled steak topped with a poached egg and guac, served with fresh avocado and rice & beans.  It's the guac that made this dish what it is though.

Taco Shop Guac
~10 medium tomatillos
2 small/medium avocados
4 cloves of garlic (or 6 if you like garlic as much as we do)
1 jalapeno pepper (seeded or not based on your heat preference)
Juice of 1/2 lime
cilantro (to taste, if you like it)
salt & pepper (to taste)

Husk and wash the tomatillos and also wash the pepper and cilantro (if you're using it).  Peel the garlic and avocados.  Cut the tomatillos into quarters and roughly chop up the jalapeno.

I use my vitamix for this next part, but any blender/food processor will likely work.  First in are the tomatillos, followed by the peppers, garlic, avocado (if you're using cilantro add that here as well) & lime juice.  Start on a low setting and use your built in muddler to begin mixing all of the ingredients.  As the tomatillos liquify, add the salt & pepper and gradually turn up the speed until the liquid is completely smooth.  *If you don't have a built in muddler, stop the blades every so often and use a spoon to push the solid pieces downwards. **If you don't have a Vitamix then the mixture may never be perfectly smooth.

This will keep in the fridge for about 5 days, but if you're like me ... you'll never have a container last that long.  Try and enjoy!


Sunday, April 5, 2015

Bone in pork chops ... this time no brine!

I know that for frequent readers of this blog, it will amaze you that I cooked a pork chop that I didn't brine first, but that's my commitment to you dear readers that I'll change it up so you don't get bored!

For this meal I started with two bone-in, thick cut, pork chops and cut into them from the middle towards the bone.  This allowed me to open them up and have a nice large area for stuffing!  For this dish I decided to go simple and so I went with a blend of peppers for the stuffing and then grilled the chops.


I diced up a couple large pieces of roasted red pepper and one serrano pepper (I kept the seeds to increase the heat but you could go either way with it).  I pressed the red peppers pretty well to get the liquid that they were packed in out, otherwise it will cause them to ooze water when cooking.  If you have a nice cheese that will melt but not ooze too much (a parmesan or something like that) it would make for an interesting addition to the mix.


After stuffing the pork chops I grilled them (remember that the butterflying of them will cause them to cook more quickly), hitting them with a little bit of bbq sauce right at the end to give a little glaze, and then served them with braised greens and oven roasted sweet potato waffle fries.  They came out awesome so I will definitely be trying other combinations like this in the future ... try it yourself and enjoy!

Thursday, April 2, 2015

What do you get when you roll up a pizza before cooking it? Calzone time!

I'm back...Tom has assigned me a blog.  Today I will highlight a great pizza dough recipe we just started using.  I believe Tom has mentioned that he bought me a collection of Marc Vetri books for Christmas.  We gave the Romana pizza dough in "Rustic Italian Food" a try on New Year's eve.  We used for a calzone and were very pleased with the results.  Last week I offered to make dough again for Tom and he was happy to put a calzone in the rotation for a week night dinner.

Ingredients
6 cups unbleached all purpose flour
2 tablespoons sugar
1 teaspoon instant yeast
1 1/2 cups plus 2 tablespoons cold water
1/4 cup extra-virgin olive oil
2 1/2 teaspoons fine sea salt

Directions
Preheat oven to 450 degrees.

Combine flour, sugar, water and oil in the bowl of  stand mixer.  Mix in yeast (I used active dry yeast which I activated in some water prior to combining).  Using the dough hook, mix on low speed until everything is moist, about 4 minutes, scrap the bowl as needed with a rubber spatula.  Increase the mixer speed to medium and mix until the dough clings to the dough hook, about 4 minutes more.  Add the salt and mix until the dough is very soft and stretchy, another 3 minutes.

Remove from mixer and cut the dough into 6 or 7 equal pieces and roll into balls on an unfloured board.  Sprinkle with some flour, cover with plastic wrap, and refrigerate overnight.

When you are ready to use the dough remove the dough and let stand at room tempertaure for 1 hour. We were using for a calzone so I rolled out the dough into a circle ~7-8 inches.  Feel free to make smaller calzones.  

Once rolled out fill with your desired filling.  Suggested fillings: cooked sausage, mozzarella cheese, pepperoni, mushrooms, artichokes, etc.  Be creative.

Cook in the oven until golden brown and it sounded hollow when tapped ~15-20 mins.

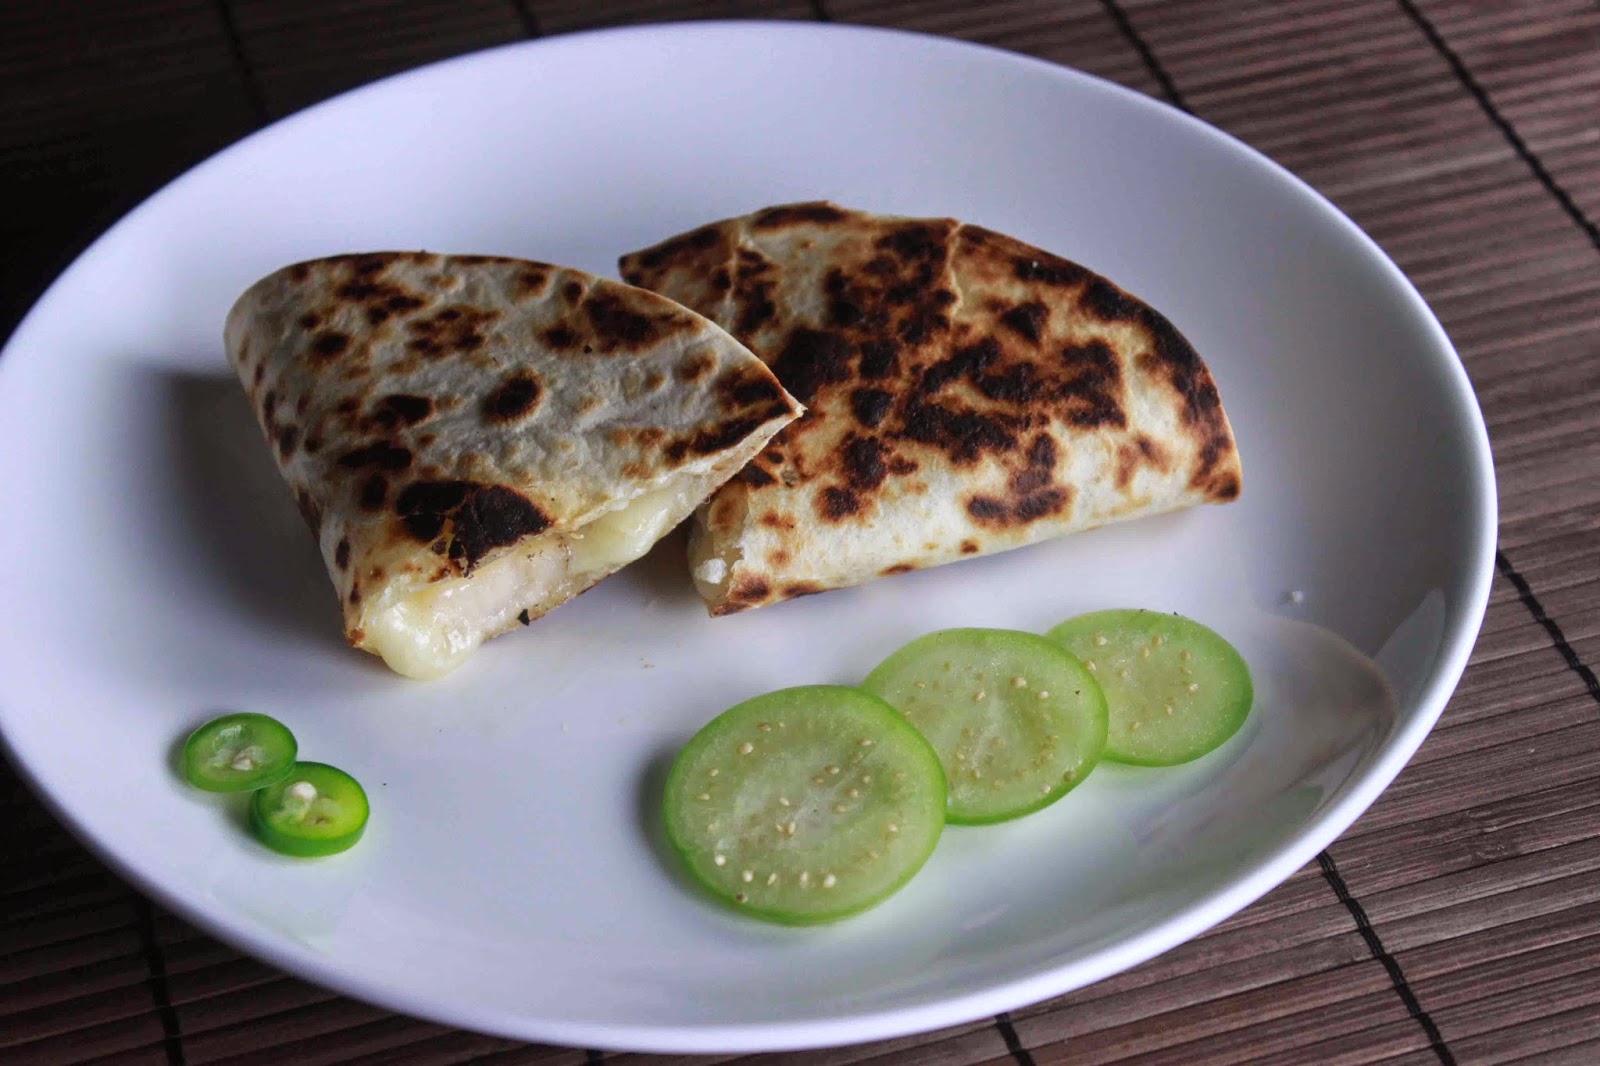
Picture below is our finished product!

You can freeze remaining balls of dough for a month in an airtight container.