Thursday, December 25, 2014

Tom and Shells Christmas Dinner 2014

Christmas dinner for Shells and I is always a fun night.  We crack open some fun wines and then I get to just cook whatever fits my fancy for the evening.  I always start with the wine and then pick the food from there; for this year we went with Pierre Paillard NV Champagne, 2006 Domaine du Vieux Telegraph blanc and 2005 Domaine Hermand-Geoffroy Gevrey-Chambertin 1er Cru La Perriere as our wine choices.


Shells did a brilliant job of setting the table to be nice and festive!  Maybe one day she'll write up how she does crazy home things like the stocking utensil holder.

The first two courses were enjoyed with the Champagne.


For the first course I did a sauteed scallop served over a truffled potato puree with some buttered French bread.


For the second course I did two Choptank Sweets on the half shell with fresh horseradish.  After this course, we retired to the den to finish the Champagne and open some presents.

For the next course, we poured the white Rhone.


I pulled a recipe from the most recent Bon Appetit for this next course, sizzling spicy shrimp.


For the second white course I stuffed a morel mushroom with some bacon (pre-cooked and cooled) and blue cheese.  I then sauteed the mushroom in butter (why wouldn't I?) until the cheese was melty and then I served it with a little slice of French bread.


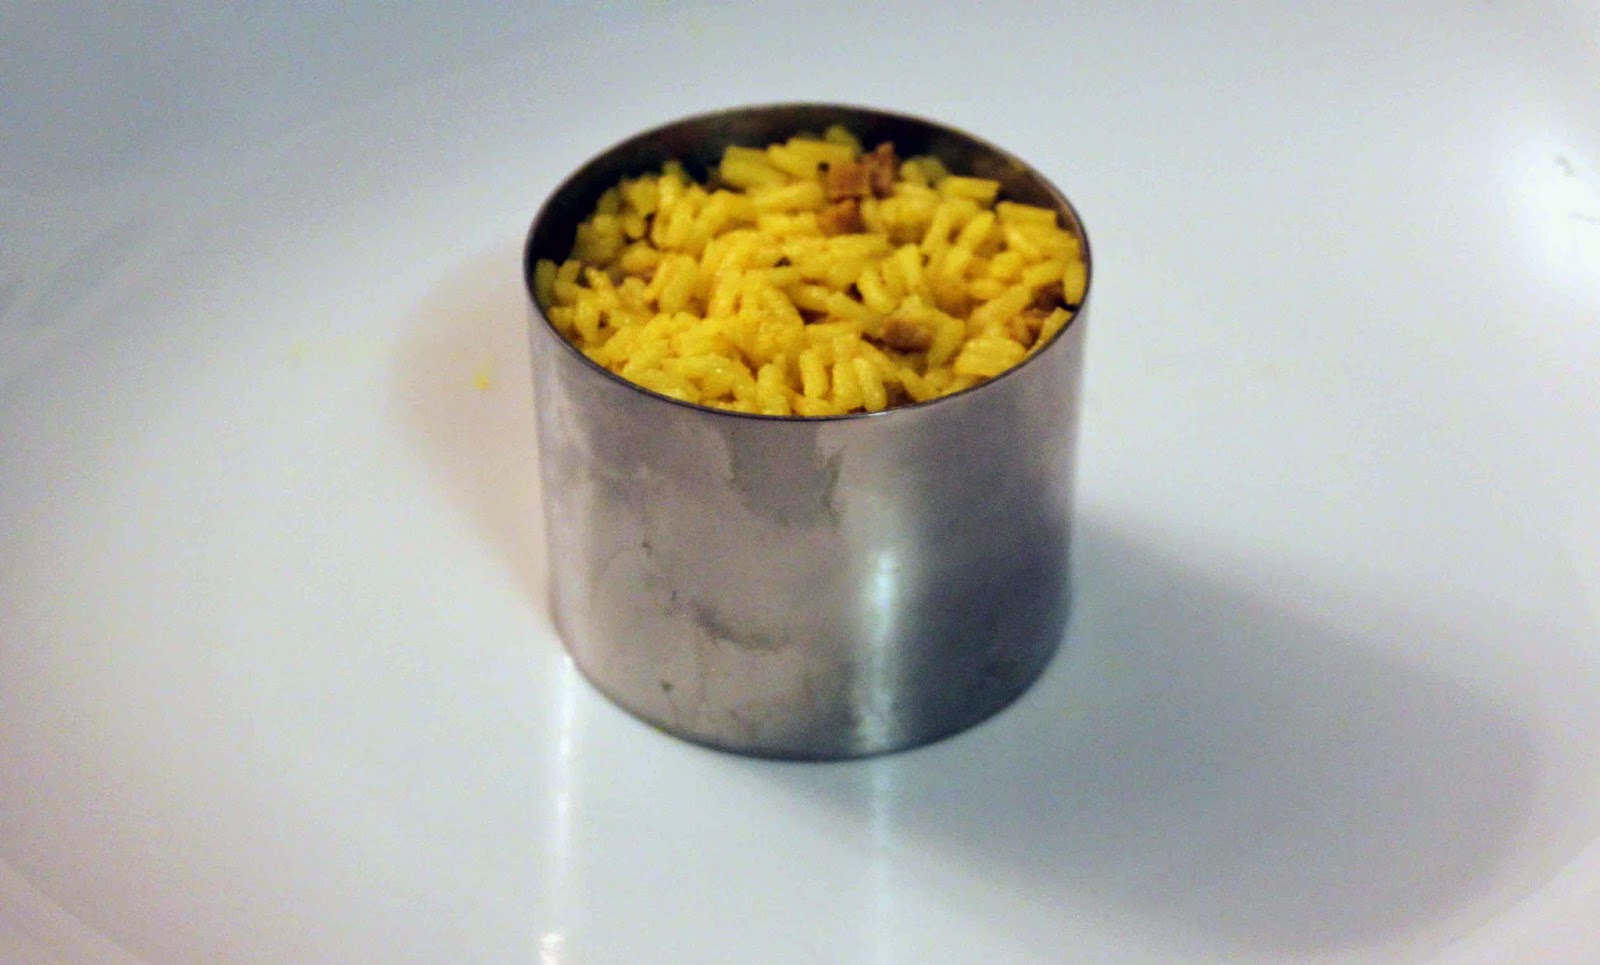
For the first of the red courses I pan roasted dry-aged NY strip in a cast iron pan, finishing it under the broiler.  I served the beef sliced over a carrot puree and accompanied by asparagus and a mushroom "gravy".

The mushroom "gravy" was super simple, and incredibly tasty:

I took 1/2 pounds of shiitake mushrooms, removed the stems and sliced them and then added them to a pot with 3 cups of beef stock.  I cooked this mixture down for about 1.5 hours at low heat (you want it to still have liquid in the pan, but to have reduced by about 2/3rds) adding a little more stock if needed.  Once the mixture was done, I blended it in the blender and then put it back into the pan on a warming setting to stay warm until I was ready for it.


For the final red course, we did a cheese selection.  There was desert after this, but I will leave that for Shells to tell you about.

Tuesday, December 23, 2014

Pizza night ... if you don't have a stone and peel you're missing out!

The list of things that are important to a good pizza is plentiful: the dough (you even need the right water), the sauce, the cheese and the wood fired oven.  You can get around a lot of those things and make some pretty good pizza at home with a pizza stone.  I preheat the oven to 450F with the stone on the middle wrack.

For this pizza I pretty much phoned it in for the above important parts ... the dough was Pillsbury from a can, the sauce was just Barilla tomato and garlic, and the cheese was Italian six cheese blend (Giant brand).  For toppings I used some spicy sausage and shiitake mushrooms, so not exactly traditional.

Now, it is possible to cook on a pizza stone without a proper peel, but I don't recommend it.  I have an Epicurean pizza peel (you can find it on Amazon here) that I use, but any peel will work.  

The key is to be able to get the entire pizza on the peel at once, and to have a slanted front so you can easily get under the pizza.  I put a little flour on the peel to put the pizza into the oven to make sure it slides right off and onto the stone.  Once on the stone, cook until the crust is browned and cheese is bubbly (I try to rotate the pizza at least once).


Use the slanted edge of the peel to get under the pizza and then with a quick motion, push the peel under until the entire pie is on.  At that point you can pull it out and move it to the counter.


It's possible to cut on the peel (especially with an Epicurean) but I don't recommend doing that with a regular pizza cutter as you will shorten the life and effectiveness of your peel.  Instead I used a blade style pizza cutter, also from Epicurean, that doesn't damage my peel.  So what are you still waiting for?  Get a peel and a stone and enjoy!

Sunday, December 21, 2014

Scallops with a Latin flair


I brought home some U10 scallops from Whole Foods the other day, but I didn't really have a plan for what I was going to do with them.

I decided that the scallops would be good with a little bit of a Latin flair so I grabbed a can of black beans and started them on medium-low heat.  I added half a can of chopped green chillies and stirred to mix.  I allowed the beans to cook down, stirring frequently, until they were soft and mushy.

I roasted some asparagus in olive oil and sauteed the scallops in a pan over high heat, with a little butter, to brown the outside.

When in doubt I tend to add avocado and fresh salsa to dress up seafood, so I grabbed a couple of avocados and tomatoes and got to chopping (half the avocado, 1 roma tomato) and then I tossed in some of the left over green chillies for good measure.

I plated the beans with a food ring, topped with shredded cheese and then laid the scallops around the beans.  I layered a couple of slices of avocado on top of the scallops and then spooned the salsa over the edge of the black bean tower.  I added the asparagus and the meal was ready for us to enjoy.

Monday, December 15, 2014

Lamb Cassoulet


Winter is a great time to make cassoulet, at least I think so, as it is hearty and filling.  Traditional cassoulet is made using white beans and then a combination of pork and duck confit.  For this dinner I went a little counter to the traditional cassoulet by using shiitake mushrooms and lamb as the "meat" base.

Recipe (serves 4)
2 14.5oz cans white (cannellini) beans
2/3 lb de-boned leg of lamb
2 cups beef stock
1/2 lb shiitake mushrooms
1 small carrot, peeled
1 small yellow onion
2 Tbsp dry white wine
1 Tbsp olive oil

Wash the mushrooms thoroughly and then allow to dry.  Peel the carrot and onion and dice both.  Remove the stems from the mushrooms and then cut the caps into strips.

Next, start by heating a 3qt sauce pan and the 1/2 the olive oil over medium-high heat.  Add the onion and the carrots to the oil, stirring well to keep from sticking and allow to begin cooking.  While cooking the veggies, cut the lamb into 4 chunks and then add it to the pan and brown it for about 1 minute per side in the olive oil.  Add 1/2 the wine (careful that the oil might spit a little bit at this point) and using a wooden spoon scrape the lamb chunks and any excess bits from the bottom of the pan.  Add the stock, reduce heat to low and cover.  Allow the lamb to braise for about 30 minutes, stirring once or twice to ensure nothing sticks.

Once the lamb has been braising for about 15 minutes, begin the next step.

In a saute pan, heat the remainder of the olive oil over medium high heat and then add the mushrooms.  Stir frequently (with a wooden spoon) to prevent them from sticking, the mushrooms should release and then reabsorb their liquid and then begin to brown.  Once they have begun to brown add the remaining wine and use your spoon to scrape up any bits that have stuck, add the mushrooms to the braising lamb in the sauce pan.

Once the lamb has braised for 30 minutes add the two cans of white beans with their liquid and then continue to cook on low, uncovered and stirring occasionally, for about another hour until a "gravy" has formed.  The finished product should look very similar to the picture above :-).  At this point the lamb should be tender enough to shred with a fork.  Serve the cassoulet in bowls, ensuring that one piece of lamb ends up in each bowl ... Enjoy!

Thursday, December 11, 2014

The first dinner after steak month


After spending four weeks traveling, and having consumed about 20 lbs of steak over that period, when I got home I just wanted something easy to eat and digest.  I opted for a simple dinner of broiled snapper over creamy garlic polenta.  I served it with broiled avocado and roasted Brussels sprouts and artichoke.

I like to make the Brussels sprouts by cutting them in half and then tossing them in olive oil, salt and garlic pepper.  I then throw them onto a tray and roast them in a 425F oven until they are nice and brown.  I don't care how much you think you don't like Brussels sprouts, try these and enjoy!

Tuesday, December 9, 2014

Simple and Awesome ... French Onion soup

Surely you've had it a hundred times in a restaurant, but you've probably never made it at home.  You know it sounds simple ... but it invariably challenges you in the flavoring and you're worried that you don't have a bowl you can throw under the broiler and melt the cheese?  Have no fear, we can fix this problem.


First you need onions, I like big Vidalia ones, and lots of them!  To make a batch of soup to serve between 6-8 people big bowls (or 10-12 cups) you'll want about 5# of onions (don't worry about trying to get the measure here, I'll leave the full list at the bottom).  Halve and peel the onions, slice thinly.  Heat the butter in a large, heavy bottom, stock pot over medium heat and then add the onions.  Using a large wooden spoon, and/or tongs, continue to stir the onions as they cook down until clarified and sticking to the spoon/tongs (about 35 - 45 minutes).


Once the onions are done add the white wine and sugar and cook down for about 5 minutes, and then add the diced Sage and the stock.  Reduce heat to low and cook for at least another hour to allow all of the flavorful goodness to develop.


Toast the bread lightly on one side in the oven to keep it from breaking down in the soup as quickly.  Once toasted, place two sides of the bread into the soup and top with the cheese and then put them into the oven under a broiler.  Broil until the cheese is melty and bubbly and then plate, serve and enjoy!

Ingredients:
5# Vidalia onions
8 cups beef stock (I like Kitchen Basics low sodium)
2 Tbsp butter
1 cup dry white wine
1 Tbsp sugar
1 Tbsp fresh Sage, diced
1 lb Gruyere cheese, grated or thinly sliced
1 French baguette, sliced

Sunday, December 7, 2014

Sometimes you just need a filet


For this dinner, I just needed to have a filet ... I just wish I had known then that I would be sitting here four weeks later having eaten at least 15 pounds of steak between then and now.  That being said, sometimes a nice filet is all you want and so that's what I prepared.

I cooked the filet in a hot skillet with a butter base and then more butter on top.  Before starting this I preheated the oven to 400F.

The key to cooking a pan-seared filet is heat, butter and seasoning.  So for this I got the pan up to medium-high, and then I dropped a 1 tbsp pat of butter into the pan.  I "salted" then pan with salt and garlic pepper and then into the pan went the steaks.

To get a nice medium-rare, I cooked the steaks for about 3 minutes on the first side and then flipped them and immediately into the oven they went.  I cooked them for about another 8 minutes in the oven to get the temp I was looking for.  Go a little longer on each side to get the temp you want (I recommend about 1 min per side for each additional temp you want).

For this dinner I added a white bean base with braised greens ... they add good flavor to a nice filet ... try it and enjoy!

Monday, November 24, 2014

What to do with a bunch of avocados about to turn?!?!

So you have a bunch of leftover avocados and don't know what to do with them?  Well, maybe this will give you an idea:

I had a bunch of veggies in the fridge that I needed to use up as well (cauliflower, red onion, serrano peppers, and broccoli) so I cranked the oven up to 425F and then set about washing the veggies.  I cut the onion, cauliflower and broccoli into chunks and put them in a large mixing bowl.  I tossed them in a little bit of olive oil and then put them on a large baking sheet.  

After 5 minutes I pulled out a couple of cilantro chicken sausages I found in the fridge (fresh from Whole Foods) and poked a hole in each and then tossed them into the oven on a baking tray.  I also put the serrano peppers (6 of them) onto a separate baking sheet and put them into the oven as well.

While everything was cooking, I whipped up a batch of avocado salsa:

1 avocado
2 roasted serrano peppers
1 plum tomato
1 lime
1 tsp olive oil
1 pinch of salt
1 pinch of pepper

Chop all ingredients, except the lime, (and the peppers since they are still cooking) and then squeeze 1/2 lime into the mix (whole lime if you have a really small one).  Add the oil, salt and pepper ...


At the 15 minute mark for the veggies (10 minutes for the sausage and peppers) I aggitaged the veggies and turned the peppers and sausages.  After ten more minutes I pulled out the peppers.  I took two of them and diced them (remove the seeds if you want the salsa to have less of a kick).  I put the diced peppers into the salsa and then stirred it well.  I took another avocado, cut it in half and then scooped it out, putting half on each plate.

At this point I pulled out the remaining items from the oven, the veggies went into a bowl (top with a little cheese) and the sausages were sliced and plated on top of the halved avocado.  Finally I rough chopped the remaining serrano peppers and put them in a ramekin on the table.  Easy, simple and used up two avocados ... enjoy!

Thursday, November 20, 2014

More fun with food rings (Mexican style)

In my last post I talked about playing with food rings in a very simple way, but sometimes it's fun to get a little crazy with them too!


For this dinner, I filled the food ring twice, once with beans and rice and once with salsa, and then used a super thin slider that goes under the food ring to layer the second ring on top.  For the salsa I used avocado, lime juice and a touch of olive oil (and let it rest for a little while) in order to bind it together.  I then stacked the salsa on the rice to create a colorful and tasty centerpiece to serve with my flank steak.  Try it and enjoy!


Monday, November 17, 2014

Presentation School: Food Rings

Food rings are a fun way to present food that can be easily built upon.  You can try and do it with a cup, a bowl or a ramekin if you are pressed to ... but it tends to be difficult to compress food enough to hold it together, and then get it out.  The other option is to use a food ring with a press.

Shells got me one of these as a gift a while back and it got lost behind some things until we found it the other day and decided to have some fun with it.


The first thing to do is prepare whatever food it is that you want to shape, in this example I used black beans and rice.  I place the ring into the middle of the plate and spooned in rice until I had filled the ring up (caution that a metal ring can/will get hot depending on what you put in it so you might want a towel handy).


Next I placed the press on top of the food in the ring and pressed down lightly to make sure the rice was packed and would hold together.


Very gently then I slid the ring up and past the food press (be careful not to apply too much downward force while you're doing this or you'll cause the base to spread out where the ring has been moved away)/

 Once done you have a perfect ring (above) that you can plate around like the fish and veggies (below).  Give it a try and enjoy!


Saturday, November 15, 2014

All buttered up and broiled ...


It is common knowledge that the most important ingredient in French cooking is butter, there is a reason for this.  For this dinner I decided to broil some bone in pork chops with plenty of butter to keep them moist.  I used my small counter top oven to prepare these ... I broiled for about 20 minutes (cooking time will depend on thickness) flipping once.  Each time a new side faced the broiler in got a pat of butter on top.  When I flipped the chops, I added a slice of red onion on top of the chop and then the butter on top of that.  Created a nice soft topper for the pork and imparted some of it's flavor while cooking.

I served the pork chops with yellow rice and beans and a brussel sprout and shiitake mushroom sautee.  Give it a try and enjoy!

Thursday, November 13, 2014

Some fishy dinners ...

Shells and I continue to try and eat healthily and a key component of that is fish and greens.  Who says it has to be boring though?  He's a couple of fun presentations to spice it up.


Yellow rice and cannellini beans mixed together?  Yes, I know it sounds odd, but it makes for a great base that helps to add some substance to an otherwise light dinner.  In this case I topped it with a piece of broiled snapper and served it with sauteed kale.


I feel like the sweet potato often gets overlooked, but who doesn't love sweet potato fries?  For these guys I use a non-stick sheet pan with a light spray of Pam and then I bake them in the oven at 425F.  No oil or frying means they stay a lot healthier, and the 425F oven means the get crispy like fried ones would.  For this dinner I served the fries with some sauteed collard greens and a piece of broiled grouper.

Give one of these a try and enjoy!

Tuesday, November 11, 2014

Mexican Flank Steak


I know that I post dishes like this all the time, and really it's because they are both super easy and super tasty.  For this dinner I cranked out the entire thing in about 30 minutes with no prep ahead of time.  Ready to see how to do it?

Start:
00:00 - Start grill, or grill pan, over medium high heat
00:01 - Put 14.5oz can of black beans and package of yellow rice into pot, add about 1.5 cups of water and put, covered, on medium low heat.
00:03 - Wash peppers and tomatoes that you will put into the salsa, collect red onion, avocado and lime ... put all of the afore mentioned by a cutting board
00:04 - Put steak into a large ziplock baggie, sprinkle steak with salt, garlic pepper and some Magi sauce.  Toss the bag to mix well.
00:05 - Put steak on the grill
00:06 - Chop the salsa ingredients and put into a large mixing bowl ... squeeze the juice of the lime and add some salt and pepper ... stir well to combine all ingredients
00:10 - Stir the rice, give a 1/4 turn of the steak
00:11 - Have a sip of wine, time is looking good ...
00:12 - You're still hanging out at this point, so enjoy some more wine, set the table, don't forget to stir the rice every couple of minutes
00:15 - Flip the steak
00:20 - How's that rice looking?  At this point the water should be pretty much gone, kill the heat to the burner and leave the rice covered.
00:25 - Transfer the steak to a cutting board to allow it to rest for a couple of minutes (note that it will let some juices out, so you may want a board with an edge
00:28 - Slice the steak, remembering to cut against the grain with flank steak
00:29 - Plate the rice, then the steak and then top with the salsa ... enjoy!

Sunday, November 9, 2014

Who's up for Mexican!?!?

I was wondering around Whole Foods in search of direction when it occurred to me ... that we hadn't done Mexican night in a while!  I pinged Shells and asked if she was up for making tortillas, she was and so off we went!


I can't take any credit for the actual tortilla making (except for the final cooking step), it's all Shells.  She starts by mixing masa (corn flour) and water into the consistency where she can shape it into dough balls and it won't break.


Once the dough is firmed up, she rolls it into small balls and then uses a tortilla press to flatten them out to the right thickness.


At this point it's my turn to take over, onto a cast iron skillet they go so that they can cook ... I like to get a nice brown char on both sides, but not too crispy.


Once the tortillas are cooked, they go into a cloth inside of a tortilla warmer.  This keeps them warm while cooking additional batches, and the little bit of steam that gets created inside keeps them malleable so that they won't break why you start using them.


For this dinner, we ate the tortillas with one of my a bunch of fun dishes.  I made a bubbling molcajete (beef, green sauce, onion ... topped with cheese at the end) and a batch of homemade chicken chorizo.  I served the dishes with guacamole, cotija cheese, fresh limes and an awesome pico that I made after first roasting all of the ingredients.  Hope you give some of this a try, enjoy!

Saturday, November 1, 2014

It's cold outside ... time for comfort food

There are many derivatives on comfort food but everyone needs at least one go-to for those cold and rainy days when you just want to stay in, wrap up in a blanket and cook something that makes you feel all warm inside.  Today was one of those days so I headed to Whole Foods, ready to be inspired.  I wandered over to the meat counter and one of the first things I saw was ground Icelandic Lamb ... yep, Shepherd's Pie it was going to be.

Like more comfort food, Shepherd's Pie has a minimal number of ingredients, and doesn't require a lot of work to make an awesome, stick-to-your-ribs, dinner.

I started a pot of potatoes boiling to make the mashed potato topping.  I used yukon golds because they mash well and make nice smooth potatoes.  Once they soften up I'll be mashing them and adding 1 cup of shredded Dubliner cheese, 1/4 cup of milk and 1/2 stick of butter ... but more to come on that later.

In parallel, I started another pan with an onion and a carrot ... I peeled and diced both and then into the hot saute pan they went.  I then added the lamb to the pan (~2 lbs of ground lamb) and cooked the lot down for about 10 minutes.  I drained off the excess liquid with some paper towels and then added about a tablespoon of flour to absorb the rest.  I added a tablespoon of chopped rosemary, a cup of peas, a cup of beef stock and 1 tablespoon of tomato paste.  I continued to stir the pan until the liquid had tightened up and then into the pyrex baking tray it went.


By this time, the potatoes were cooked, so I drained the water and tossed the potatoes into a bowl.  I mashed them and then mixed in the butter and milk, using a spatula to continue to smooth them out.  Once the potatoes were pretty smooth, I added the cheese and continued to stir until it was completely melted and the potatoes were totally smooth.  I then used the spatula to spoon the potato mixture over the base and smooth it out to make a potato topper.


Once it was smoothed out, I used a fork to cross hatch the potato topping and then into the 350F oven it went.  I cooked the entire thing for 30 minutes (but you can pull yours out earlier if the potato topping hits that nice golden baked color that means it's going to be tasty.


Once out of the oven, I let the pie sit for about 5 minutes to tighten up a little bit and then used a nice flat spoon to scoop out a generous serving for each of us.


I served the pie with some roasted brussels sprouts and a roll ... but you can serve it with whatever you want and then enjoy!!

Thursday, October 23, 2014

Icelandic Lamb is back!!


I love this type of dish ... it was cold outside and so I went with something filling.  I did a base of roasted garlic polenta with braised greens and grilled Icelandic lamb and a tomato sauce.  Icelandic lamb is a Whole Foods thing that we love ... for a limited time each year they bring in free range, non-farmed lamb from Iceland.  It is super tasty, yummy goodness.

For this dinner, I broiled the lamb in the countertop oven with a garlic pepper crust and a butter topping until both sides were crispy and the lamb was cooked to a nice rare to medium-rare.  So tasty, try it and enjoy!

Tuesday, October 21, 2014

Presentation School: pork chop & batter bread tower

So I often get comments on presentation of food, and how great it looks ... while I would love to tell you that it is super hard to make food look restaurant quality at home ... that would be a lie.  Today however, I'm going to dispel the myth and teach you what makes Shell's photographs look so good.


First thing you need to do is pick your base.  This is usually a starch (think mashed potatoes or pasta), although sometimes it can be a veggie, and should be something that doesn't flatten out.  For this dinner, I am using batter bread as the base.  Center it on the plate so that you can build around it.


After you lay down the base, start building your layer.  When using a vegetable such as the greens I used here feel free to hang it off the side of the base, if you're using a solid vegetable like this like asparagus or broccolini just build it up like a wall off to one side of the base.


Next, get ready to lay down your protein.  In this case I'm using a solid protein (think: steak, pork chop, chicken breast) but there are other ways to accomplish this if you have a non-solid protein (think: cuban roasted pork) I'll share those in a later iteration of Presentation School.  For the solid protein, lay it down mostly off of the base, in the opposite direction of the veggie layer.


Finally, if you have anything you're topping your dish with, in this case sauteed shiitake mushrooms but it could be something like a sauce or a salsa, go ahead and put that on top.  For a sauce, pour it over the middle so that it spreads evenly around the dish.  At this point present, enjoy the photographic moment and enjoy!

Friday, October 17, 2014

Portugese lobster roll and short rib pasta

Nothing says summer like a lobster roll ... or at least Please Summer, Come Back!!  I know that summer isn't really coming back anytime soon though, so after wishing for it with a lobster roll, I welcomed in winter with some braised short ribs.


When making a small starter lobster roll one has to improvise a little bit.  I got a nice chewy portuguese roll from Whole Foods as the base for this (mostly though just because I didn't want to buy a whole thing of rolls I wouldn't eat and this I could buy one of), after cutting it in half I scooped out the insides to make a pocket.  For the filling, I steamed a lobster tail and then allowed it to cool a bit before cutting into chunks.  In a mixing bowl I added a splash of lemon juice and a few drops of mayo as well as some seasonings.  I tossed gently, stuffed the pockets and we enjoyed!


For the short ribs I seasoned them with Salt and Pepper and then seared all four sides to lock in the flavor.  Into the braising pan went the ribs, half a box of Pomi strained tomatoes, 8 reconstituted Morel mushrooms and half a white onion, diced.  I covered it and into the oven (350F) it went.  I set a timer for 1.5 hours and went to watch TV for a while.

When the timer went off, I reset it for 30 minutes and began preparing the other parts of this dinner (braised greens & noodles) so that they finished up right as the timer went off for the second time.  At this point it was time to plate ... Noodles and short ribs topped with sauce and a bunch of greens on the side!

Wednesday, October 15, 2014

Homemade Ravioli (Part 2) - the squash filling & final product!

 So before leading in to the ravioli I made a snack that I wanted to share with you all ... caprese lollipops!

These fun little snacks are super easy to make ... just cut some cherry tomatoes in half and do the same with some nice fresh burrata balls (or other small version of mozzarella).  Speare them on a toothpick, drizzle with a little olive oil and voila!


As Michelle promised in her blog earlier this week, here are the instructions for the butternut squash ravioli filling.

For the ravioli filling I started by roasting a butternut squash.  This was a pretty big one so I hacked it into a couple of evenly sized pieces and drizzled it with salt, pepper and olive oil before throwing it into a 425F oven.  I left it in there for about an hour, until a fork passed cleanly through it, and then took it out of the oven.  Using a pair of tongs and a wooden spoon i gently scraped the meat of the squash off of the hard outer rind into a mixing bowl.  Once in the bowl I mashed it with the spoon and then allowed it to cool to room temperature (uncovered).

Once it was room temperature I added about 2/3 of a container of ricotta cheese (14.5oz), a tsp of salt, 1.5 tsp of black pepper and about 15 roasted cloves of garlic (diced).  The key to the filling is trying to decide what role it's going to play in the dinner.  In this case I was planning to serve the pasta with braised short ribs and their braising sauce ... so I wanted the pasta to focus on the squash flavor and accent the beef, not compete with it.


For the final product I plated the pasta and then topped with the short ribs and pan sauce, a little shaved parmesan to finish it off and it was ready to eat!